Cold Brew vs Espresso
We start by setting clear expectations for this comparison of two concentrated coffee styles. We will contrast their brewing methods, extraction variables, and typical serving traditions so readers can choose what fits their routine.
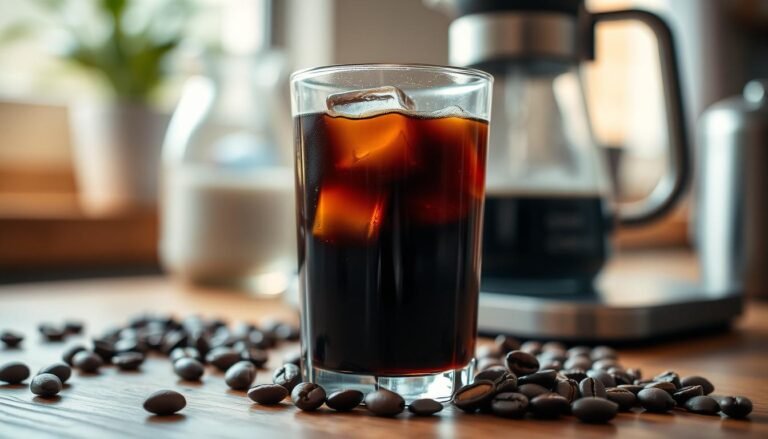
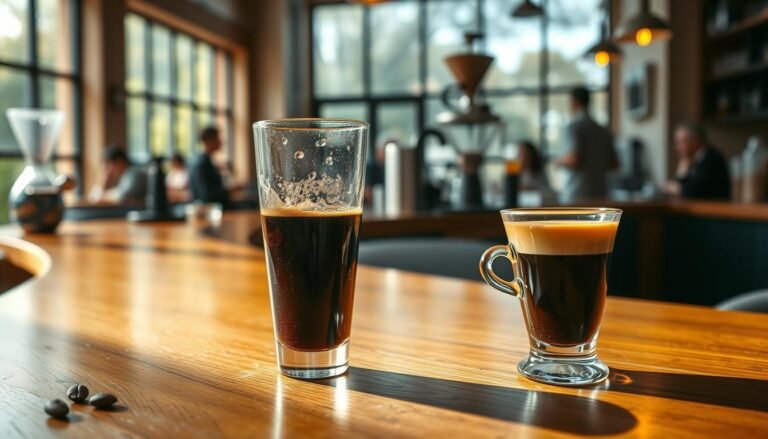
One method uses long steep time with cool water to make a concentrate often poured over ice and diluted. The other forces hot water under pressure through finely ground, roasted beans to yield a small, crema-topped shot in seconds.
We preview taste and caffeine differences: the first often tastes smoother with gentle acidity, while the second hits with bold intensity and layered aromatics. Later, we’ll cover nitro versions, common drinks like americanos and lattes, equipment, grind, and cost so you can pick the right cup for home or café life.
What we mean by Cold Brew vs Espresso today
Here we outline the practical differences between a slow-steep concentrate and a high-pressure shot. We define cold brew as a slower brewing method that steeps coarse grounds in cold or room-temperature water for 12–24 hours, often producing a concentrate we dilute to taste.
By contrast, espresso is both a brewing method and a beverage. It forces hot water through finely ground beans under pressure to yield 1–2 ounces in under a minute. That small cup becomes the base for lattes, cappuccinos, macchiatos, and americanos.
- Today’s cafés and home setups offer concentrates, ready-to-drink bottles, and compact home machines that change how we plan our coffee time.
- Taste and flavors diverge: the slow-steep route tends toward smooth, mellow notes; the pressurized shot delivers intense aromatics and bolder taste.
- Method choice affects caffeine: concentrate strength, dilution, and shot counts matter more than the label alone.
| Feature | Slow-steep | High-pressure |
|---|---|---|
| Time | 12–24 hours | ~30 seconds |
| Typical cup | Larger, iced or diluted | Small, hot shot |
| Key variables | Grind, ratio, water | Grind, pressure, temperature |
Brewing methods that define the difference
Our focus here is on the practical steps that make each brewing approach yield distinct cups. We’ll outline how grind, contact time, temperature, and equipment steer extraction and flavor so you can see the real technical difference.
Cold brew steeping: coarse grounds and long contact
We steep coarsely ground coffee in cold or room-temperature water for many hours to pull soluble compounds slowly. Typical steep times range from 12 to 24 hours to create a concentrate that we later cut with diluted water or milk.
Espresso extraction: fine grind, pressure, and fast pull
For espresso, we dose and tamp a fine ground puck, then force hot water through it under high pressure. A properly dialed-in espresso shot takes about 20–30 seconds and produces a crema that signals balanced extraction.

How temperature and pressure shape extraction
Cold or room-temperature water favors low acidity and gentle extraction. Hot water speeds solubility and releases volatile aromatics quickly.
Pressure is central to the pressurized method: around 9 bars on a stable machine controls flow rate, extraction yield, and mouthfeel.
- Coarse grounds prevent over-extraction during long hours of immersion.
- Very fine grind and even tamping enable even, quick extraction in seconds.
- Batching suits the long-steep concentrate; single-shot machines pull to order.
| Variable | Immersion | Percolation |
|---|---|---|
| Time | 12–24 hours | 20–30 seconds |
| Grind | Coarse grounds | Fine ground |
| Key control | Water ratio, dilution | Pressure, puck prep |
Taste and mouthfeel: smooth and less acidic vs bold and complex
Taste and mouthfeel tell the story when we compare these two very different coffee approaches. We focus on acidity, aroma, and texture to show how brewing and extraction shape what we sip.
Acidity and aroma
One method often yields a smoother, less acidic cup. Low temperatures and long contact mute sharp notes and bring forward chocolatey, nutty, or floral tones.
The other method concentrates aromatics and bright edges. Hot, high-pressure extraction creates intense, compact flavors that reveal origin and roast quickly.
Texture and crema
Immersion-style coffee feels velvety and round, especially when diluted with water or milk. Mouthfeel is fuller without a heavy bite.
The pressurized shot is syrupy and layered. Crema adds foam, aroma, and a lasting finish in just a few sips.
| Attribute | Immersion-style | Pressurized shot |
|---|---|---|
| Typical flavor | Smoother, less acidic | Bold, aromatic |
| Mouthfeel | Velvety, full | Syrupy, lingering |
| Common add | Water or milk | Served straight or with milk |
Caffeine content clarified: per ounce, per shot, and per cup
We often spot numbers on menus or labels and wonder how they translate to our daily intake. This section compares concentration versus total volume so we can make better choices at home or in cafés.

Concentrate versus ready-to-drink: what changes the numbers
Concentrates pack more caffeine per ounce. A typical ready-to-drink serving is pre-diluted to be consistent and lower in caffeine content.
A single cup of cold brew coffee can range roughly 200–330 mg of caffeine depending on strength and dilution. Concentrate sold by cafés or brands will sit at the high end until we add water or milk.
Shots and multi-shot drinks: managing your intake
A single espresso shot commonly contains about 64–75 mg of caffeine. Each added shot increases total caffeine predictably, so we can count shots to manage intake.
- Per ounce, espresso is more concentrated, but a large cup of brew may deliver more total caffeine.
- Grind, steep hours, and brew ratios all influence extraction and final caffeine numbers.
- Track ounce sizes at cafés; a tall iced brew can exceed the caffeine of multiple shots.
- Start with modest dilution for concentrate and add shots incrementally for multi-shot drinks.
| Measure | Typical caffeine | Notes |
|---|---|---|
| Single espresso shot | 64–75 mg | Hot water extraction, quick and efficient |
| 8–12 oz cold brew cup | 200–330 mg | Depends on strength and dilution |
| Concentrate (per ounce) | High variable | Check label or ask staff before diluting |
| Ready-to-drink cup | Lower, consistent | Formulated for steady content |
Individual sensitivity varies. We recommend spacing shots, diluting strong concentrate, and noting how we feel to stay within common daily guidelines.
Time and convenience: seconds vs hours in the brewing process
How we schedule brewing often decides which method fits our day.
Preparing a cold brew concentrate asks for hours of steeping, but it frees us later. We can batch a large jar over a weekend and pour a glass in seconds on busy mornings.
An espresso shot, by contrast, takes about 20–30 seconds to pull and is best enjoyed immediately. That quick pull suits rushed routines and hot, single-serve habits.
Storage favors the batch approach: refrigerated concentrate keeps for days and simplifies iced drinks. The pressurized method trades storage for peak aroma and crema right after extraction.
- Weekend batching saves weekday prep and keeps coffee ready-to-serve.
- A good machine with programmable shots shaves seconds and adds consistency.
- Mixing methods works well: keep concentrate on hand and pull a shot when we want heat and body.
| Feature | Batch concentrate | Single-shot pull |
|---|---|---|
| Typical time | 12–24 hours steep | 20–30 seconds per shot |
| Convenience peak | After initial process — pour-and-serve | Immediate, on-demand beverage |
| Storage | Refrigerates well for days | Best consumed fresh for aroma and crema |
Equipment and cost: from mason jar to espresso machine
Choosing the right gear shapes cost, daily habit, and the quality of our cup.
We can start with very little and still make great concentrate, or we can invest in a full setup for precision and speed.
Entry-level gear and ongoing bean usage
A mason jar, a coarse grind, and a simple filter let us brew coffee at home with minimal expense.
Remember that slow-steep concentrate uses a higher coffee-to-water ratio, so our beans will disappear faster than with drip.
Investment for pressurized shots and per-cup economics
An espresso machine plus a quality grinder and tamper raises the upfront cost substantially.
With regular use, the per-cup cost drops if we buy coffee beans in bulk and maintain the machine well.
Pod-based trade-offs
Pod systems deliver quick, consistent shots with almost zero learning curve.
Pods cost about $1–$2 each and create more packaging waste than whole-bean workflows.
- Pressure and temperature stability in a machine matter for consistent flavor and dialing in shots.
- Maintenance differs: descaling and grinder cleaning versus rinsing and sanitizing a steeping jar.
- Match equipment to our routine—batch makers for iced routines, semi-automatics for hands-on pulls, or pods for speed.
| Item | Upfront cost | Per-cup cost | Maintenance |
|---|---|---|---|
| Mason jar / filter | $0–$30 | High (more beans per batch) | Rinse and sanitize |
| Dedicated cold brewer | $30–$150 | Moderate | Filter changes, cleaning |
| Espresso machine + grinder | $300–$3000+ | Low with bulk beans | Descale, clean grinder |
| Pod machine | $100–$300 | $1–$2 per shot | Minimal, but waste management |
Beans, roast, grind, and water: variables that drive coffee flavor
Flavor starts long before water hits the grounds; it begins with the beans we choose. Variety and processing shape notes like citrus, berry, chocolate, or nuts.
Arabica and robusta deliver different base profiles. Light roasts show origin flavors. Dark roasts push roast-driven, bittersweet tones. Freshly roasted coffee beans keep aromatics intact.
Origin and roast level
Single-origin lots reveal specific fruit or floral traits. Blends add balance and consistency. Roast level shifts emphasis from origin to roast character.
Grind size, ratio, and water quality across methods
Use coarse grounds for long immersion and a fine grind for fast pressure extraction. Adjust coffee-to-water ratio to control strength without over-extracting.
- Water minerals and filtration affect clarity and mouthfeel.
- Grind freshness matters—grind immediately before brewing to preserve aroma.
- Tweak steep time or ratio if a concentrate tastes weak; tighten grind or increase extraction for a sour shot.
| Variable | Immersion-style | Pressurized shot |
|---|---|---|
| Typical grind | Coarse grounds | Very fine ground |
| Key adjustments | Ratio, steep time | Grind size, extraction time |
| Water role | Room temp water, mineral clarity | Temperature and pressure stability |
| Freshness tip | Use recently roasted beans, store cool | Grind right before pull |
We recommend keeping a simple tasting log as we dial variables. Small, repeatable changes help us match café-quality results at home.
Cold Brew vs Espresso use cases: building the coffee drinks we love
Different recipes unlock different textures and serve distinct needs. We map popular café drinks to the method that best delivers flavor, body, and speed.

Drinks like nitro, lattes, americanos, and iced options
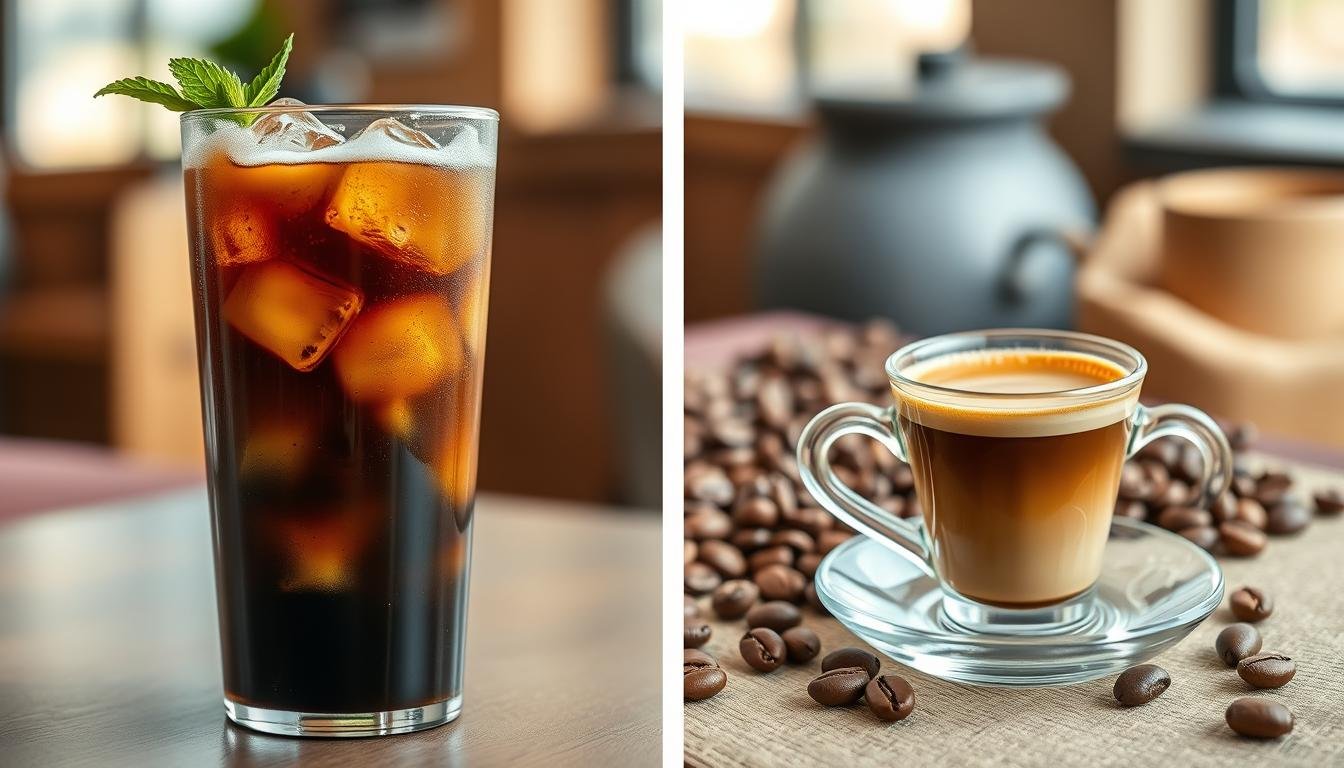
Nitro cold brew infuses nitrogen for a velvety texture and a foamy head, perfect for a slow, beer-like sip. An espresso shot anchors lattes, cappuccinos, macchiatos, mochas, and americanos.
Iced lattes and iced americanos let us enjoy concentrated shot espresso flavors over ice. Tall iced cold brew coffee often ships larger cups and feels lighter across a warm day.
Hot or iced, milk or no milk: matching method to the moment
Milk and milk alternatives change sweetness and mouthfeel. Adding milk softens an espresso’s intensity and rounds a cold brew’s smooth profile.
- Nitro cold brew: silky head, slow sip.
- Espresso-based drinks: structured, scalable by adding shots.
- Iced lattes/americanos: fast, café-style cold options with ice.
- Concentrate dilution or extra shot: alters taste and caffeine in each cup or ounce.
| Drink | Typical method | When to choose |
|---|---|---|
| Nitro cold brew | Infused concentrate | Slow-sip texture; warm days, craft feel |
| Iced latte | Espresso shot + milk + ice | Quick, creamy refreshment |
| Americano (iced or hot) | Shot espresso + hot water or ice | When we want espresso notes but a longer cup |
| Tall chilled cup | Cold brew coffee concentrate diluted | Long, mellow drink with lower perceived acidity |
We encourage experimenting: try tonic with an espresso shot, syrups with concentrate, or seasonal spices to fit mood and weather. Both methods give us a flexible foundation for inventive coffee drinks at home or in cafés.
How to choose between Cold Brew vs Espresso for your routine
Picking the right cup means balancing flavor goals, caffeine needs, and how much time we have.
If we prefer a smooth, less acidic profile, a cold brew concentrate made by long hours of immersion and later dilution fits. If we want bold intensity, crema, and aromatic lift, a 20–30 seconds hot extraction at about 9 bars and 195–205°F from an espresso machine suits us.
Consider caffeine content by ounce and total serving size, then match equipment to budget—from a simple jar and coarse grind to a programmable machine and fresh coffee beans. A hybrid approach works well: keep a small batch chilled and pull a shot on demand so our routine covers hot and iced cups every day.